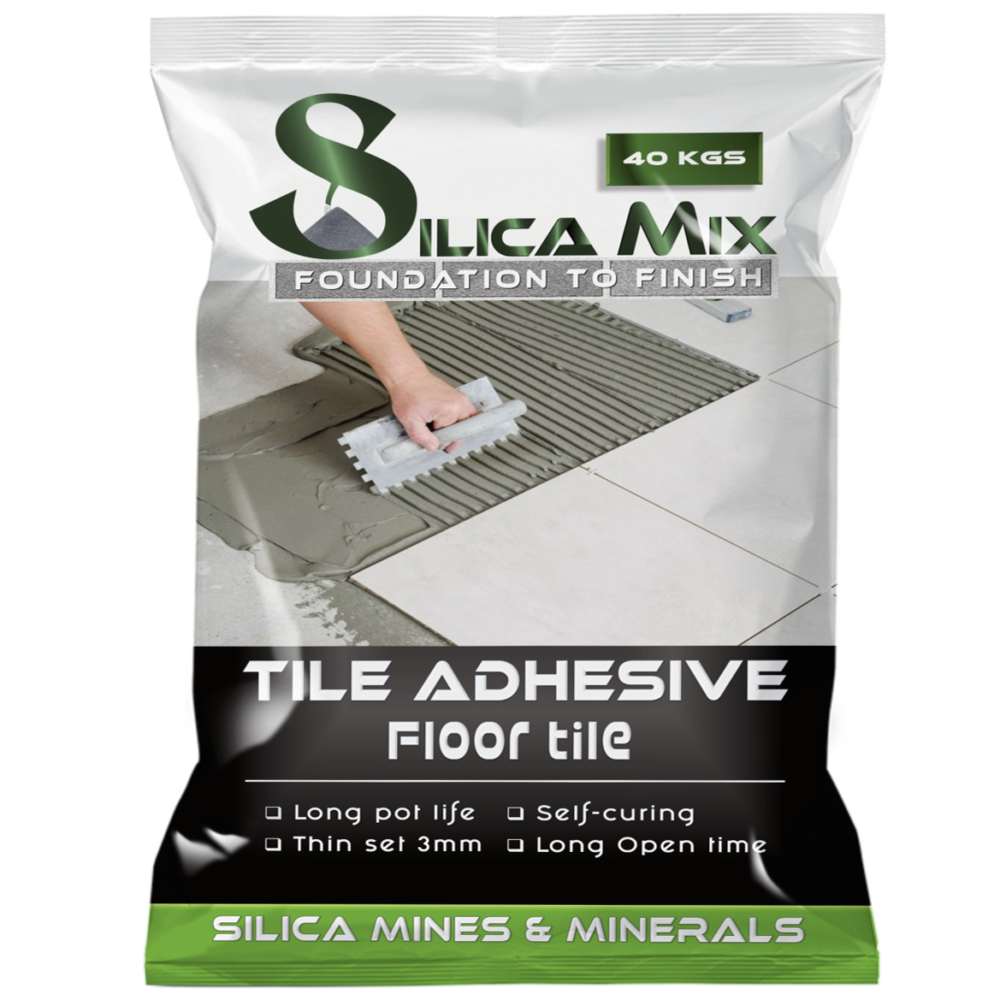
Description
SilicaMix Thin-Bed Floor Tile Adhesive Regular is grey cement ready-mix tile adhesive manufactured with fine quality graded sand, 53 grade cement, polymers and additives that enable thin bed application for fixing tiles of small and medium size. For Large Size Tiles refer to Thin-Bed Tile Adhesive Premium Technical Data Sheet
All ingredients are blended in a controlled environment to deliver consistent quality.
Advantages
- No need to pre-soak tiles or water cure
- Long Pot life
- Easy to Apply
- Thin set tile adhesive saves material cost
- Ready to Mix with Water at site.
- Reduces labor cost and time
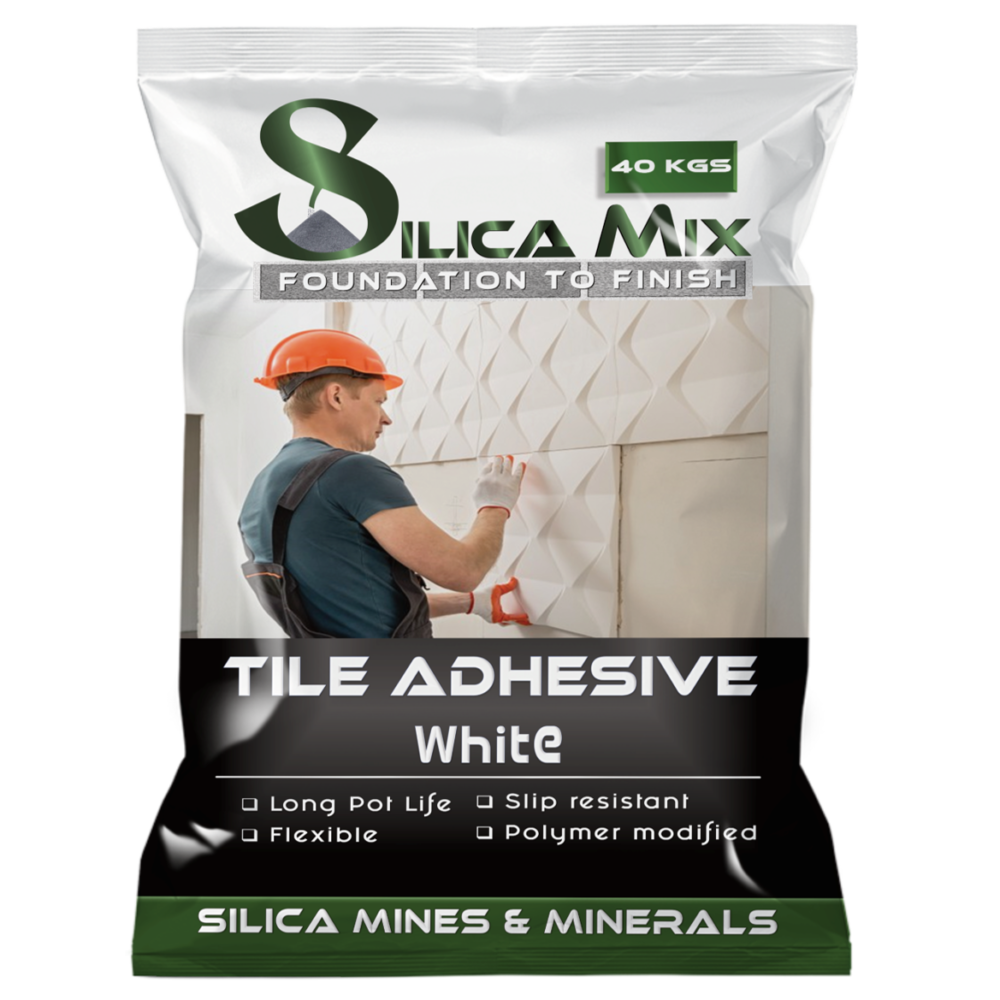
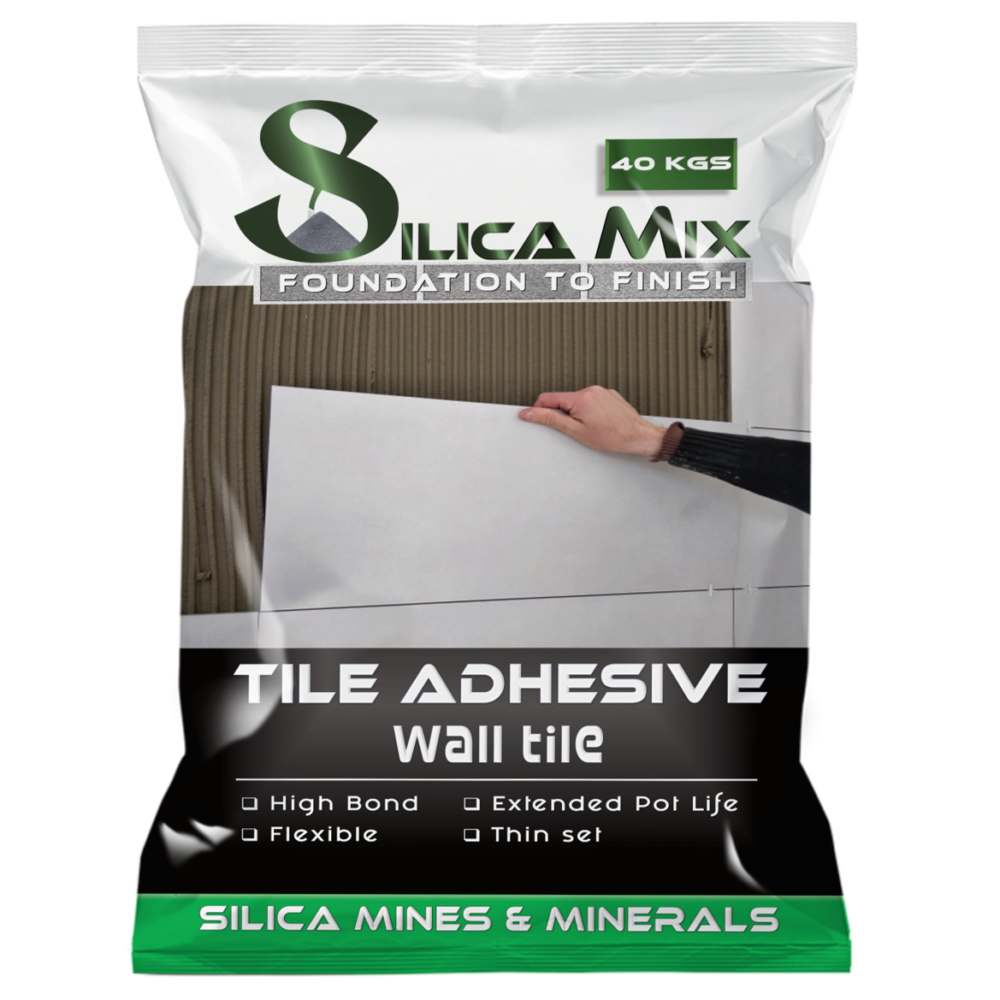
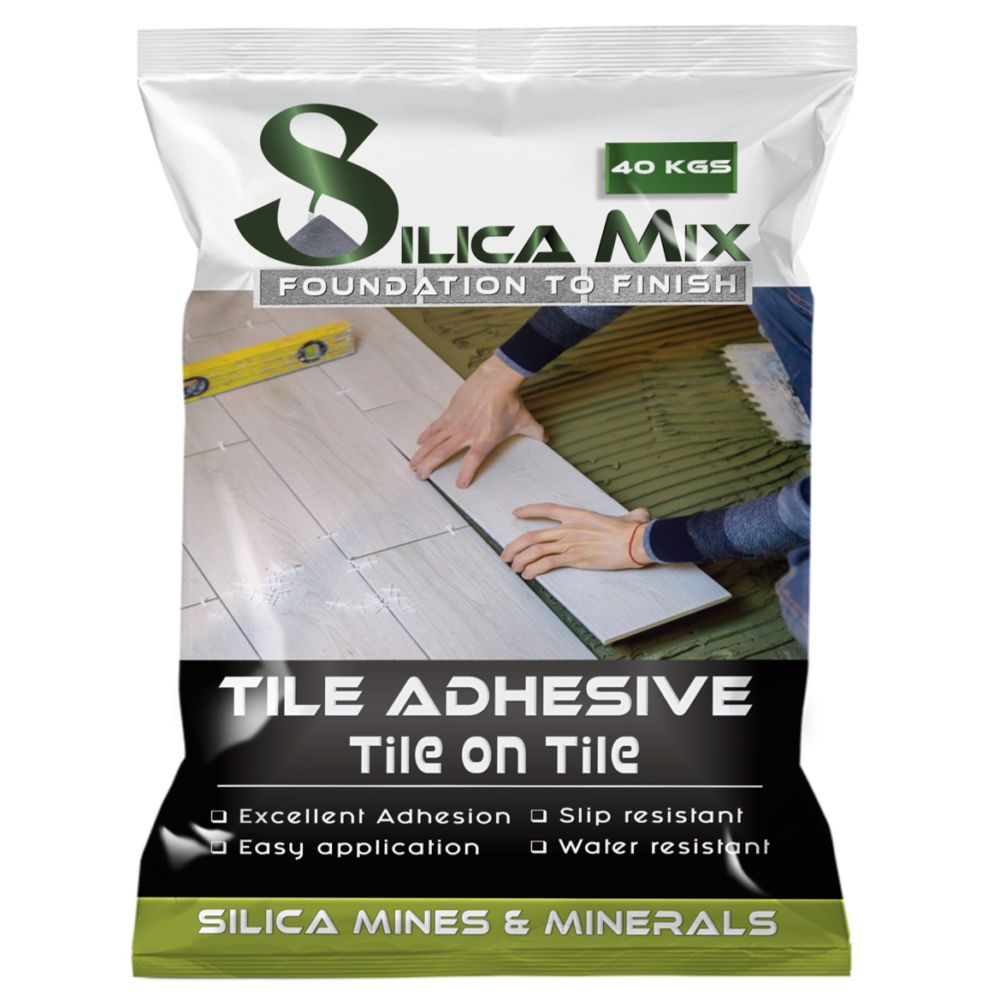
Suitable Tiles
For all kind dry Internal Wall and Floor application with ceramic tiles, terracotta tiles, vitrified tiles, brick and natural stones of small and medium size tiles
Suitable Substrates
1. Concrete
2. BrickWork
3. Plaster Wall
4. Other Concrete Surfaces
5. Natural Stone Surface
Don’t use on gypsum plaster walls, fibre cement boards, plywood, chipboard, particle board, metal sheets.
Coverage
20kg Bag Floor Tile Adhesive can cover approximately 50-60 Sqft, using 1/4͟x 1/4͟(6mm x 6mm) square notched trowel for a thin bed application of 3mm. Coverage will vary depending on trowel notch size, type and size of tile and substrate smoothness and evenness.
Water Demand
5 to 6 litres of clean water is required for 20kg tile adhesive. Mortar should be mixed thoroughly as it contains binders and admixture.
Technical Data
1. Pot Life 90 to 120 minutes under normal climatic conditions
2. Open Time 30 Minutes (IS 15477: 2019)
3. Adjustability 25 Minutes (IS 15477: 2019)
4. Water Requirement 10 to 10.5 liters for 40kg bag
5. Specification Meets EN/ISO C1T classification IS 15477:2019 Type 1T EN12004
6. Tensile Adhesion(Dry Condition) 0.65 N/mm2 (IS 15477: 2019)
7. Tensile Adhesion(Wet Condition 0.58 N/mm2 (IS 15477: 2019)
8. Shear Adhesion (Dry Condition) 1.23
9. Shear Adhesion (Wet Condition) 1.03
10. Shear Adhesion (Heat Ageing) 0.79
11. Slip Resistance < 0.5N/mm2
12. Time To Traffic 24 Hours
Surface Preparation
1. All substrates should be structurally sound, stable, dry, clean and free of any substance or condition that may reduce or prevent proper adhesion.
2. Dry, dusty surfaces should be cleaned with water and let dry.
3. Ensure the surface is level, else you will need higher quantity of thin-set adhesive.
4. If surface is uneven, use SILICAMIX screed or plaster to level the surface and cure for atleast 14 days before using SILICAMIX tile adhesive
Mixing
1. Take a clean bucket and fill it up with clean and good quality 5-6 litre water. Pour 20kg bag tile adhesive mix.
2. Mix by hand or with a suitable mechanical stirrer or slow speed drills (50 – 100 rpm) to obtain smooth, trowel able consistency.
3. Adjust the water as per desired consistency.
4. Always mix required quantity, which can be consumed within pot life.
5. Leave mixture to slake for 5 minutes before use.
Application & Curing
1. Apply adhesive to the substrate with the flat side of the trowel.
2. Comb on additional adhesive with the notched side.
3. Use the proper sized notched trowel to ensure full bedding of the tile.
4. Tiles must be fixed within 15-20 minutes of adhesive being applied, depending on the porosity of the surface and atmospheric conditions.
5. Check the adhesive ribs periodically and if a skin has formed, remove the dried adhesive and apply fresh adhesive.
6. Press the tiles firmly into position with a slight twisting action, beat using rubber hammer or beating block to impregnate tile to adjust level.
7. Leave no voids behind tiles.
8. For large size tiles or irregular surfaces, adhesive can additionally be applied on the backs of the tiles.
9. Use suitable support along with adhesive for fixing tiles on vertical surfaces.
10. Clean off surplus adhesive from the tile face and between joints.
11. Clean tools and tile work with water while adhesive is fresh.